The rooms in the house tend to be the least decorative variations suffer at Christmas (I speak at the level of ornaments, of course).
Normally everything stays at the entrance and the dining room so maybe it's funny to do this Christmas tree to give a more Christmas touch to your shelves.
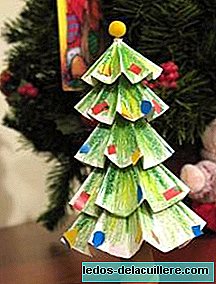
The tree is made with different cardboard circumferences, so you decide the size.
In case you do not want to go around making circles by hand or with the computer you have available templates with the size that I used to make my tree.
What do we need:
- Cardboard
- Scissors
- Skewers to make skewers (I bought them in an oriental bazaar)
- Circumference templates (as I say, you can make them in the size you prefer) that you can download here.
- Plastidecor or similar light green, dark green and yellow (optional)
- Yellow and brown plasticine
- White glue
- Colored or chrome stickers
Let's do it
Once the template has been downloaded and the circumferences have been cut, we bend them inwards, drawing a star with the folds.

Now we must make new folds with all the spaces that have been left but instead of inwards, outwards. It should look something like this:

In the template, you will have seen, you have two possibilities. Print on white cardboard to color it later, print on green cardboard directly or print on white cardboard the green circumferences and so you don't have to paint anything.
I have printed them in white so if you have done the same, follow this step, but skip to the next one.
Once all the folds are made, we color the circumferences to our liking, a little light green, a little dark green, some "glitters" of yellow and we already have our tree almost alive.

Between the circumferences and the plastidecor (in the image above) you see the stick of the skewers. The next step is to stick all the parts in the stick starting with the largest and ending with the smallest.
They hold well without any support, but if we want to ensure them we can put some hot silicone (the one that melts with the pistolite and cools at the moment) or even small elastic bands knotted under each circumference or threads that make a stop.
Once all the layers of the tree are placed, we cut the tip of the stick a little (it is not a plan to leave a tip there) and put a small yellow plasticine ball as an ornament. If you are able to make a star it will always be more "professional", of course.
We cut the stick below the height we want and make a small trunk with brown plasticine.
Finally we decorate the tree with colored stickers or with stickers (I have cut pieces of the repeated cards of Caillou).
One last point. The plasticine dries and cracks in a few hours. It is preferable to "varnish" it with white glue by giving it two or three layers by drying it (a few hours) so that it hardens in the same way that we have given it. Otherwise, it is likely that a blizzard will cause our tree to fall ...
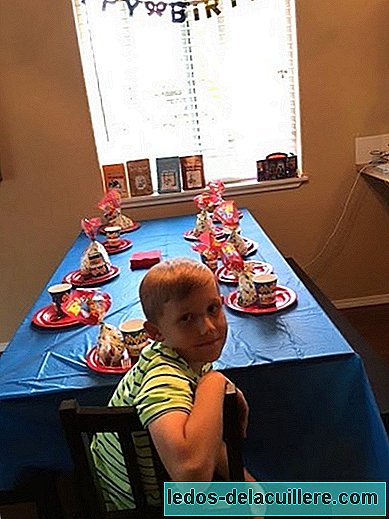
I leave a last photo of the tree looking next to a photo of Jon: